Making Coffee Grounds Exfoliating Soap Without Grit Sinking
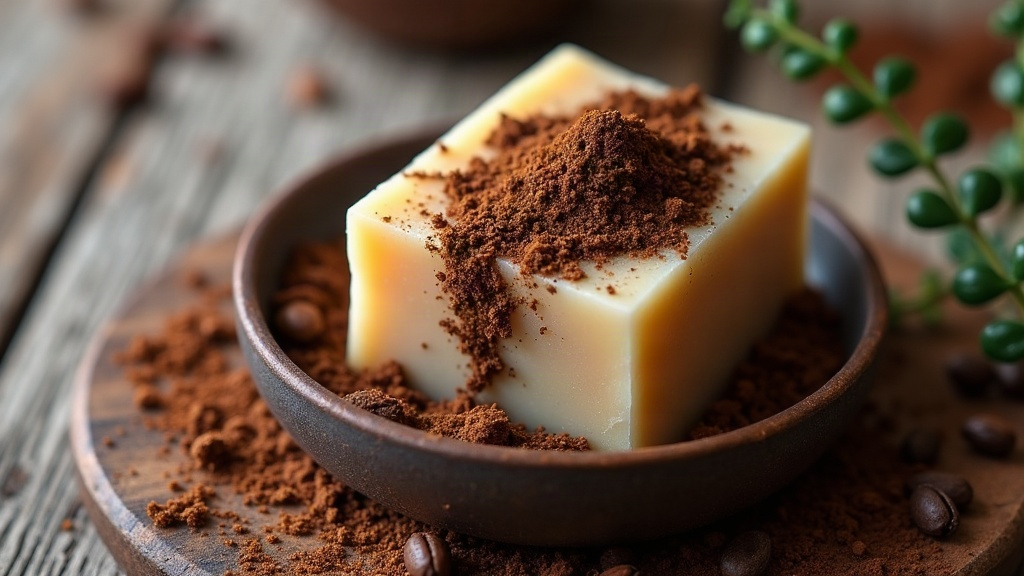
Why Your Coffee Grounds Keep Sinking to the Bottom of Your Soap (And How to Fix It)
Coffee grounds exfoliating soap is one of those DIY projects that sounds foolproof on paper. Gentle scrub, that warm invigorating coffee smell, what’s not to like? But almost everyone who tries it runs into the same annoying problem on their first batch: the grounds drift to the bottom of the mold, leaving a clean, boring top layer and a dense, gritty puck at the base. Frustrating, sure. But it’s not bad luck or bad technique so much as basic physics, and physics problems tend to have clean solutions.
Why Coffee Grounds Sink in the First Place
Coffee grounds are simply denser than melted soap base. And melt-and-pour soap stays liquid for long enough that gravity has time to do its work before everything sets. A few things make the sinking worse:
- Pouring too hot. Soap base poured above 130°F (54°C) stays fluid much longer than it needs to, which gives the grounds a longer runway to settle.
- Using wet or oily grounds. Fresh, damp coffee grounds weigh more than dried ones and drop through the base faster.
- Stirring in too early. If you add grounds the moment the base is melted, you’re working with a thin, watery liquid that has zero suspending power.
- Large mold depth. A taller mold just means more vertical distance for particles to fall before the soap firms up enough to stop them.
Fix #1: Cool the Base Before Adding Grounds
This is the single most effective trick, and honestly it solves about 80% of the problem on its own. Melt your soap base like normal, then let it cool to roughly 120–125°F (49–52°C), that sweet spot where it’s just starting to thicken but is still easy to pour. At this stage the base has enough body to hold particles in place instead of letting them sink straight through like a stone in water.
- Use an instant-read thermometer. Eyeballing the temperature is how most people end up re-melting a ruined batch.
- Stir gently and look for a texture that’s “syrupy,” not watery. If it still pours like water off a spoon, it’s not ready.
- If it cools too fast and starts to set, zap it in the microwave in 5-second bursts to loosen it back up.
Fix #2: Use Dried, Finely Ground Coffee
Wet or coarse grounds behave like tiny pebbles dropped into syrup. They just keep falling. Instead:
- Dry used coffee grounds on a baking sheet for a few hours, or pop them in a low oven at 170°F (75°C) until they’re bone dry.
- Run the dried grounds through a coffee grinder or food processor for a few pulses to break them down further.
- Smaller, lighter particles stay suspended far more easily than big damp clumps. Think table salt versus gravel.
Fix #3: Pour in Thin Layers
Instead of dumping everything into the mold at once, build the bar in stages:
- Pour a thin layer of cooled soap base, about ¼ inch.
- Sprinkle a light dusting of coffee grounds over it.
- Spritz with rubbing alcohol. This knocks out air bubbles and helps the next layer bond properly.
- Pour another thin layer and repeat the process.
It takes a bit more patience, but it spreads the grounds evenly through the whole bar instead of dumping them all at the bottom in one shot.
Fix #4: Stir Right Before Pouring
Once the grounds are mixed in, don’t walk away. Pour right then. Even a five-minute pause on the counter is enough time for settling to kick in, especially with a bigger batch where the base takes longer to cool evenly.
Fix #5: Use a Thicker Soap Base
Some bases, goat milk or shea butter blends for example, are naturally thicker than clear glycerin soap and hold particles in suspension much better. If you’ve tried everything above and sinking is still an issue, switching bases might be the easier fix. No need to change your whole technique, just your starting material.
Troubleshooting Common Mistakes
- Still sinking after cooling the base? Your thermometer might be lying to you. Try the spoon drizzle test instead: drizzle a bit off a spoon, and if it ribbons slightly rather than running flat and thin, you’re good to pour.
- Grounds clumping instead of dispersing? They’re still too wet. Give them more drying time, even an extra hour can make a difference.
- Bar cracking after you add the grounds? You probably poured too cool. Stay toward the upper end of that 120–125°F window.
- Grounds floating instead of sinking? Ironically, that means the base was too thick when you poured. Thin it out with a few extra seconds of gentle heating.
A Reliable Step-by-Step Method
- Melt the soap base completely.
- Cool it to 120–125°F, stirring occasionally so it cools evenly.
- Mix in finely ground, fully dried coffee grounds, about 1–2 tablespoons per pound of base.
- Stir thoroughly, but don’t overdo it. A quick, even mix is all you need.
- Pour immediately into the mold.
- Spritz with rubbing alcohol to clear out bubbles.
- Let it set undisturbed for several hours before unmolding.
Conclusion
If your grounds keep ending up at the bottom, it’s not a sign you’re bad at this. It’s almost always a temperature and particle-size issue, nothing more mysterious than that. Cool your base to the right consistency, dry and finely grind your coffee, pour without delay, and layer your pour if you want extra insurance. Do that and you’ll land on an evenly textured, genuinely exfoliating bar pretty much every time. Give it a couple of tries and you’ll start turning out coffee scrub soap that looks like it came from a proper studio, with the texture sitting exactly where you want it.