Advanced Vertical Ombre Layered Cold Process Soap with a Pour Divider
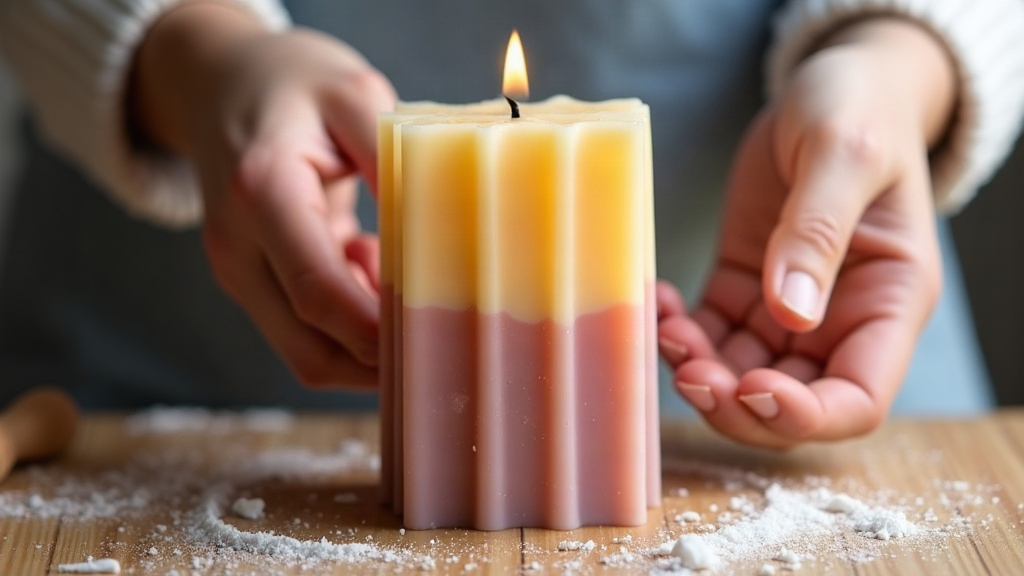
Vertical Ombre Soap: Getting Crisp Lines With a Pour Divider
Vertical ombre layering is one of the most eye-catching techniques in cold process soap making. And honestly, the single best way to nail it, to get those crisp, straight, professional gradient lines instead of the blurry, slumped mess that freehand pours tend to produce, is a pour divider. This guide covers the whole process: tools, trace timing, colorant math, and the failures you’ll probably run into at least once. By the end you should be able to reliably produce bars with a smooth transition from deep color to white (or any two-tone combo) running top to bottom instead of side to side.
What Makes Vertical Ombre Different
Regular ombre soap gets poured in horizontal layers that sit flat in the mold, so the gradient shows up once you cut the loaf. Vertical ombre flips that orientation. The gradient runs across the width of the bar when you slice it, which means you’re pouring the layers standing up against a divider rather than stacking them flat. That changes what you need:
- A mold with a removable vertical divider (plastic, acrylic, or a cardboard insert) that splits the cavity into narrow vertical channels.
- Batter thick enough to hold its shape once the divider comes out, but still thin enough to pour and self-level a bit.
- Tight sequencing, so every shade goes in at roughly the same consistency. Otherwise you get uneven settling and one band sinking lower than the rest.
Tools and Setup
- A silicone or wood loaf mold with a custom-fit divider (a lot of makers just 3D print or laser-cut their own)
- 4-6 small pitchers for splitting your colors
- A stick blender plus a whisk for controlled trace
- Micas or oxides with good dispersion (steer clear of colorants that clump, some ultramarines are notorious for this)
- A spray bottle of 99% isopropyl alcohol for cleaning up seams afterward
Step-by-Step Process
1. Calculate Your Gradient Shades
Pick how many bands you want. Four to six is realistic, whether you’re a beginner or more experienced. Split your base color across that many pitchers using a consistent ratio. Doubling the colorant amount in each successive pitcher, for instance, gives you a smooth, even gradient instead of one that jumps in intensity halfway through.
2. Bring Batter to Light Trace
Get your soap to a thin, pourable trace, think heavy cream, before you start splitting it into pitchers. Vertical pours actually need slightly thicker batter than standard layering, because each channel has to hold its own weight against the divider without bleeding into its neighbor.
3. Insert the Divider and Pour in Sequence
Drop the divider into the mold. Pour your lightest shade into the first channel, then move straight to the next one with the next shade. Speed matters a lot here. If the first pour starts setting up while you’re still working on shade three, you’ll end up with mismatched surface heights across the bar.
4. Remove the Divider Carefully
Once every channel is filled to the same height, pull the divider straight up in one slow, smooth motion. Yank it fast or at an angle and you’ll drag color across the boundary, which wrecks the clean line you worked for. If your batter consistency is right, the walls should stay standing on their own for several seconds after the divider is gone.
5. Encourage the Blend (Optional)
Want a soft ombre instead of hard stripes? Run a thin skewer horizontally along the seams right after pulling the divider. Just enough to feather the edges a little, not enough to actually mix them.
Common Problems and Fixes
- Colors bleeding together: Your batter was too thin. Aim for a slightly firmer trace next time, especially for the outer shades (the lightest and darkest ones tend to be the most forgiving to fix this way).
- Uneven layer heights: Your pour speed wasn’t consistent channel to channel. Weigh out batter per pitcher beforehand so each channel gets the exact same volume.
- Dull color after cure: Some natural colorants shift or fade as the pH changes during saponification. Test your palette in a small test batch first, and check back after a full 4-6 week cure to see what actually survived.
- Cracking at the seams when cut: Usually means you cut too early. Give bars at least 24-48 hours to firm up before slicing through those vertical bands.
Soap-Safe Colorant Tips
Micas tend to be the safest bet for predictable, stable vertical lines. They disperse evenly and don’t react in weird ways with lye. Oxides give you deeper, more saturated color, but they can streak if you don’t pre-mix them into a bit of oil before adding them to the batter. Either way, always pre-disperse your colorants. Skip this step and you’ll end up with a speckled look that ruins an otherwise clean gradient.
Final Thoughts
Vertical ombre with a pour divider rewards patience more than it rewards raw skill. Once your trace timing and colorant ratios are dialed in, it becomes a technique you can repeat batch after batch without much drama. Start with three shades before you try six. And keep notes, real notes, on trace consistency and pour timing, so you can actually reproduce your best results instead of hoping for the same luck twice.