How to Fix Soda Ash on Cold Process Soap Without Rebatching
What Is Soda Ash and Why Does It Form?
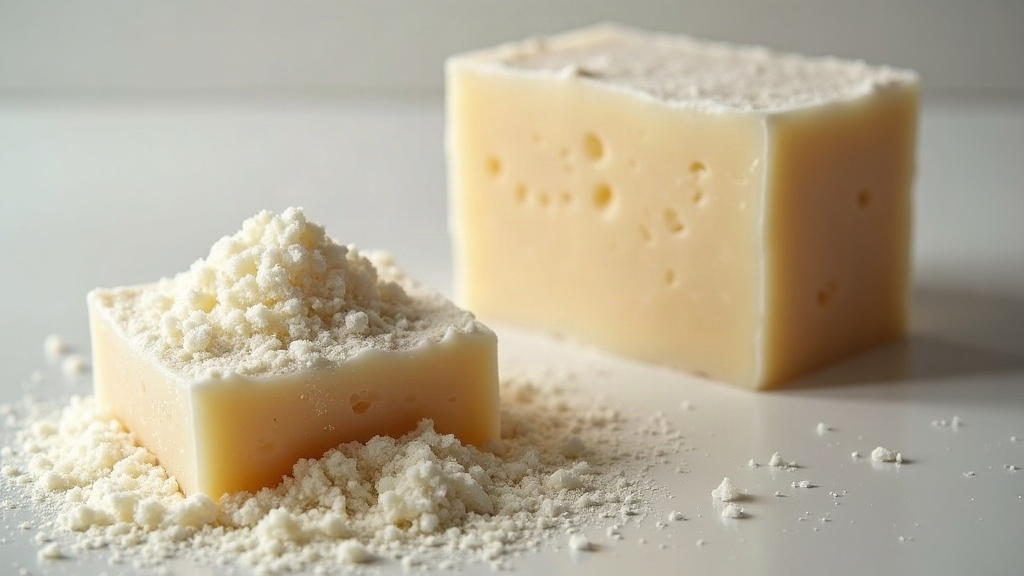
Soda ash is sodium carbonate. It shows up when unsaponified lye (sodium hydroxide) sitting on the surface of fresh soap reacts with carbon dioxide in the air. Instead of finishing the saponification process and turning into soap, that surface lye converts into sodium carbonate instead, and you’re left with a telltale white crust.
A few things tend to trigger it:
- Exposed surfaces. The top of a loaf, or the tops and sides of individual cavity molds, sit in direct contact with air, so they’re the first to ash.
- High water content. Run a big water discount, or set your water as a high percentage of oils, and you leave more free water (and free lye) hanging around near the surface.
- Low temperatures. Soap poured cool takes its time saponifying, which gives lye extra hours to react with CO₂ before it’s locked into soap molecules.
- Un-gelled batches. Skip gel phase and you’ll usually see heavier ashing as a result.
- Humid or drafty curing areas. Moving air speeds the whole reaction along.
- Soft, heavily lye-discounted recipes. Bars loaded with soft oils like olive or sweet almond seem to ash more readily than harder-oil recipes.
None of this means the batch is ruined. It just means the surface needs a little cleanup.
The Steam Method (Fastest, Most Reliable Fix)
Steaming is the gold standard here. It won’t mess with your design, and the heat plus moisture re-dissolves the sodium carbonate so you can wipe it away or let it get absorbed.
What you need: a handheld clothing steamer, a steam iron with a burst function, or (in a pinch) a kettle of boiling water, plus a soft, lint-free cloth.
Step-by-step:
- Wait until the soap is fully saponified, at least 48 hours after unmolding, ideally 3 to 7 days out.
- Hold the steamer 3 to 6 inches from the surface.
- Steam in short bursts, 5 to 10 seconds at a time. Watch the white film go wet and glossy as it dissolves.
- Wipe immediately with a dry microfiber or cotton cloth, gently. Work one face at a time.
- Let the bar dry completely before you handle it any further.
Pro tips: Steam, then wipe right away. Never leave a steamed surface sitting wet, because the ash can re-form even thicker once that water evaporates. Don’t hover the steam over one spot too long either, or you risk melting delicate swirls into mush. For piped or textured tops, use quick light passes and blot rather than rub.
The Rubbing Alcohol Method (Best for Fresh Soap)
Isopropyl alcohol might be the single most useful tool in a soaper’s kit. It evaporates fast, carries dissolved ash away with it, and can stop ash from forming in the first place.
- Reach for 91 to 99% isopropyl alcohol. Higher concentration means less water introduced to your bar.
- Mist the ashy surface lightly, then wipe with a soft cloth or paper towel.
- Got a stubborn spot? Spray, wipe, flip the bar, and repeat.
A lot of makers spray alcohol over the top of a fresh loaf right after pouring, then again 30 to 60 minutes later, purely as prevention. It leaves a thin barrier that keeps CO₂ from reaching all that lye-rich surface.
Washing, Trimming, and Planing
Steam and alcohol not cutting it? If the ash is thick and crusty, it’s time for physical removal.
Quick Wash and Polish
Hold the bar briefly under cold running water while rubbing the surface with your fingers or a soft cloth. Ash dissolves in water almost instantly. Pat dry, then let it air dry on a rack. Quick, but it rounds the edges slightly, so save this for rustic-style bars rather than crisp, sharp-edged ones.
Trimming and Beveling
Grab a soap planer, vegetable peeler, or beveler and shave off that thin ashy layer. You get a clean surface and softened edges in one pass, which actually makes bars look more professional, not less. Honestly, a plain kitchen vegetable peeler does a surprisingly good job on all four long edges.
Light Sanding
For flat faces, a fine-grit sanding sponge or even a scrap of nylon netting will buff away surface ash without taking off much soap underneath. Wipe off the dust, buff with a dry cloth, and you’ll get a subtle sheen as a bonus.
How to Prevent Soda Ash Next Time
Fixing ash works fine, but skipping the problem entirely saves you time down the road. A few adjustments before your next pour:
- Cut the water. Aim for a 33 to 35% lye concentration (a moderate water discount) rather than whatever high-water default your recipe defaults to.
- Spray with alcohol right after pouring, then again once the surface firms up.
- Push the batch into gel. Wrap the mold in a towel, or set it on a heating pad, to encourage a full gel phase. Gelled soap ashes far less.
- Cover the exposed top. A sheet of freezer paper or plastic wrap laid directly on the loaf surface blocks air contact.
- Watch the room. Skip pouring on muggy days, and don’t let a fan blow directly on curing soap.
- Unmold and cut sooner rather than later. The longer raw soap sits exposed, the more chances lye has to react with CO₂.
Conclusion
Soda ash is annoying, sure, but it’s never a reason to toss a batch or rebatch it. Nearly every time, a steamer, a spritz of alcohol, a quick rinse, or a few passes with a planer will get your bars back to a clean, finished look. And here’s the real payoff: none of these fixes take more than a few minutes per batch. Keep a steamer and a bottle of 99% isopropyl alcohol in your soaping kit, apply the prevention tips above, and ash goes from a recurring headache to a five-minute fix you barely think about.