How to Add Honey to Cold Process Soap Without Overheating or Sticking
Why Honey Causes Problems in Cold Process Soap
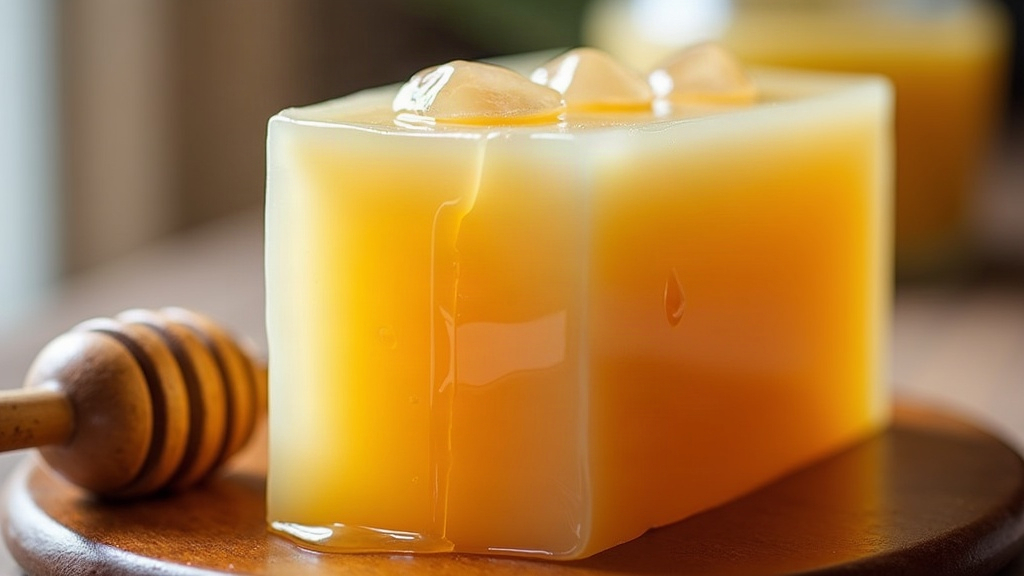
Honey is one of those ingredients soapmakers love and fear at the same time. It boosts lather, adds a touch of moisture, and turns bars that warm caramel color everyone loves on Instagram. But add it wrong and you’ll be scraping soap off your counter within the hour.
Here’s the mechanism: honey is mostly sugar, and sugar speeds up saponification by generating extra heat as lye and oils react. A little honey, no big deal. Too much, or honey dumped in at the wrong moment, and you’re suddenly watching your soap crack down the middle, crater on top, or push itself right out of the mold like a tiny volcano. I’ve seen it happen in under 20 minutes.
Honey can also:
- Spike trace speed, so your batter goes from pourable to cement-thick before you’re ready
- Caramelize under high heat, darkening the soap in ways you didn’t plan for
- Leave a sticky surface if you use too much, or add it raw and undiluted
Know these three risks going in, and you’re already ahead of most people who try honey soap for the first time and give up after one ruined batch.
The Right Amount of Honey to Use
Most experienced soapers stick to a simple rule of thumb:
- 1 teaspoon per pound of oils is the safe, reliable starting point
- Up to 1 tablespoon per pound gives you noticeably better lather and color, but the overheating risk climbs with it
Don’t go past 1 tablespoon per pound unless you’ve got some batches under your belt and you’re actively managing temperature (more on that below).
Step-by-Step Method to Add Honey Safely
1. Dilute the Honey First
Never spoon honey straight from the jar into your batter. Mix it with roughly equal parts warm distilled water (a 1:1 ratio works fine) until it’s fully dissolved. Skip this step and you’ll end up with little pockets of concentrated sugar sitting in your batter, each one a tiny hot spot waiting to overheat on its own.
2. Add Honey at Light Trace
Timing is everything here. Wait until your soap hits light trace before adding the diluted honey, not a moment sooner. Add it right after combining lye and oils and you’re giving the sugar far more time to build heat throughout the entire saponification process, which is exactly what you don’t want.
3. Keep Batches Cool
Honey already pushes the internal temperature up, so your job is to pull it back down wherever you can:
- Work with room-temperature or slightly cool lye water and oils (around 90-100°F / 32-38°C) rather than hot ones
- Skip the insulation entirely, meaning no towels or blankets over the mold
- If you live somewhere warm, put the mold in a cool room, or even the fridge, for the first few hours
4. Avoid Thick Insulating Molds
Silicone loaf molds hold heat beautifully, which is usually a plus but turns into a liability with honey in the mix. New to honey soap? Pour into a thin wooden mold lined with freezer paper instead. It sheds heat much faster and gives you a bigger safety margin.
5. Watch the First 2-4 Hours Closely
This window is where things go sideways, if they’re going to go sideways at all. Cracking, a glassy jelly-like look, or a bulging center are your warning signs. Spot any of them and move the mold to a cooler spot, or straight into the fridge, right away to stop the heat from climbing further.
Fixing Stickiness on the Surface
Finished bars feeling tacky or gummy after curing? A few likely culprits:
- You probably used too much honey relative to your recipe size. Dial it back next batch.
- Your curing space needs to be well-ventilated and low-humidity, for the full 4-6 weeks, not just a couple.
- Try a light dusting of rice flour or kaolin clay on the surface right at unmolding. It soaks up excess moisture and smooths things out.
Bonus Tips for Better Honey Soap
- Raw, local honey beats the processed stuff for both scent and color depth
- Combine honey with oatmeal or goat milk for that classic milk-and-honey bar people keep coming back for
- Expect the color to drift from pale yellow toward deep amber or brown over time. That’s just caramelization doing its thing, not a mistake on your part.
- Honey plays especially well with warm fragrances: think vanilla, oatmeal, almond
Conclusion
Done right, honey gives cold process soap a gorgeous color, a silkier lather, and a hint of natural sweetness that’s hard to replicate with anything else. The catch is respecting the sugar. Dilute it, add it at light trace, keep the batch cool, and leave the insulation in the cupboard. Follow those steps and you’ll sidestep the volcano effect and the sticky surfaces, ending up instead with smooth, golden bars worth showing off.