How to Make Beer Soap by Boiling Off Alcohol Before Mixing Lye
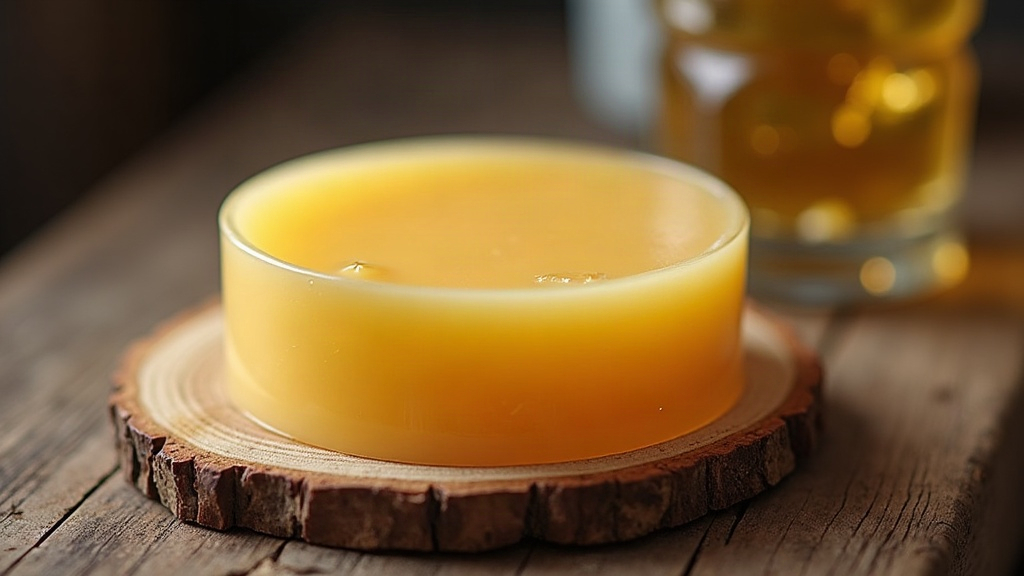
Beer Soap: Why You Have to Tame the Brew Before It Meets Lye
Beer soap has a reputation for a reason: that creamy, long-lasting lather and a faint malty note that no synthetic fragrance quite replicates. But here’s the catch. Pour raw beer straight into lye and you’re asking for trouble, think volcanic foam-overs and a bar that smells like last week’s flat pint. The fix isn’t complicated. You boil off the alcohol and carbonation before lye ever touches the liquid. Below is the full process, step by step, so you end up with soap that’s smooth, nicely scented, and doesn’t turn your kitchen into a science experiment gone wrong.
Why You Need to Boil the Beer First
Beer has three ingredients that spell trouble in cold process soap: carbonation, alcohol, and sugar. When lye (sodium hydroxide) hits any liquid, it triggers an exothermic reaction, meaning the temperature spikes fast, sometimes within seconds. Pair that heat surge with beer’s dissolved CO2 and alcohol content, and here’s what tends to happen:
- The mixture bubbles up and overflows as trapped gas tries to escape
- Alcohol fumes sting more than typical lye fumes do
- Natural sugars in the beer scorch or discolor under the heat
Boil the beer ahead of time and most of that alcohol and fizz disappears. What’s left behind is a concentrated, flavorful liquid that behaves a lot more like water or milk once lye enters the picture.
What You’ll Need
- 12-16 oz of beer (stouts, porters, and amber ales give the richest color and aroma)
- A stainless steel or enamel pot (skip aluminum entirely, lye corrodes it)
- A heat-safe stirring spoon
- A scale accurate to 0.1 oz or 1 gram
- Lye (sodium hydroxide) plus whatever oils and butters your recipe calls for
- An ice cube tray or freezer-safe container
- Your usual cold process safety kit: goggles, gloves, long sleeves
Step-by-Step: Boiling Beer for Soap
1. Open and De-Fizz the Beer
Pour the beer into a wide, shallow pot and leave it uncovered for 15-20 minutes. This gives the initial carbonation time to escape on its own, so you don’t get a surprise foam-over the second it hits the stove.
2. Simmer, Don’t Boil Hard
Warm it over low to medium heat until it just barely simmers. A rolling boil will send foam everywhere and leave a sticky mess on your stovetop. Stir now and then to coax the remaining bubbles out.
3. Reduce by About Half
Keep simmering until the volume drops by roughly 50%. Started with 16 oz? You’re looking for about 8 oz left in the pot. This is the stage where nearly all the alcohol cooks off, most of the carbonation vanishes, and the color and aroma get noticeably more concentrated, think dark caramel rather than pale gold.
4. Cool Completely
Here’s where most beginners cut corners, and it’s the one step you really can’t skip. Pour the reduced beer into an ice cube tray or a shallow freezer-safe dish and freeze it solid, cubes or a slab, doesn’t matter which. Freezing, not just chilling in the fridge, matters because it slows the lye reaction way down once the two meet. That buys you control and cuts the risk of overheating or ugly discoloration later.
Mixing Lye With Reduced Beer
Once the beer is frozen through:
- Weigh your lye precisely, matching your recipe’s exact amount.
- Set the frozen beer cubes in a heat-safe container, working outdoors or somewhere with good airflow.
- Add the lye a little at a time over the frozen beer, stirring gently between each addition.
- The ice melts as it soaks up the heat from the reaction, which keeps things from scorching.
- Keep stirring until the lye fully dissolves and the liquid runs clear. Don’t be alarmed if it turns deep amber or even brown, that’s completely normal and, honestly, part of what makes beer soap look distinctive.
One rule that never changes: lye goes into liquid, never the other way around. Stay in a ventilated space and keep your gloves and goggles on the whole time.
Troubleshooting Common Issues
- Soap turns orange or brown: Totally expected. Beer’s sugar content reacts with the heat from lye, much like what happens with milk soaps. Plenty of soapmakers lean into this instead of fighting it.
- Strong “boozy” smell lingers: Next batch, push the reduction further, aim for 60-70% instead of 50%, and make sure the mixture is near-frozen before the lye goes in.
- Mixture overheats and discolors badly: Try a lower lye-to-beer ratio, or chill things down even more, maybe sit the container in a partial ice bath while mixing.
- Lather is flat, not beery: Light lagers just don’t hold up to reduction, the flavor burns off too easily. Stick with something bold, a stout or porter will survive the process with real character intact.
Finishing the Soap
With your lye-beer solution ready, the rest is standard cold process work: mix it into your melted oils, bring the batch to trace, stir in fragrance or essential oils if you want them, pour into molds, and let it cure for 4-6 weeks somewhere cool and dry.
Final Thoughts
Beer soap sounds trickier than it actually is. Simmer out the alcohol and fizz, freeze the reduction, add lye slowly and carefully, and you’ve already avoided the foamy, fume-filled mess that catches so many first-timers off guard. What you’re left with is a warm amber bar, a faint hint of malt, and that rich lather beer soap is famous for. A fun weekend project if you’re ready to move past plain water-based recipes and try something with a little more character.